Work in Progress

What am I working on right now?
Follow me on Instagram to see up-to-date work.
Or subscribe to my newsletter "Fruits of the Kiln".

The pictures below show my process of work.
Beginning with first sketches to the transfer of the design
onto the tiles, the glazing and then the kiln firing.
After the firing the tiles will be either adhered directly to the
surface, or I have to install them on a substrate to be able
to transport the art work and to hang it on a wall for display.
The firing was completed with the help of the
Charlotte Arts & Science Emerging Artist Grant.
With the grant I was able to purchase my own kiln and to set
it up at my home studio in Charlotte/Cotswold.


First, if it's a commission, I will meet with my client to learn about their visions and expectations.
We will talk about specifications like: size, color, theme/subject, indoor or outdoor project, budget and timeline.
Then I will start with sketches.
With the sketches I will meet with my client again to narrow the design down.
If desired, I will make copies to size so we can see the design in the original size and location.
Before glazing and firing all tiles of the panels at once, I usually make test tiles first. Either on 8"x8" or 6"x6" tile.
That way I can see how the design and the glazes/colors turn out and I can make adjustments if necessary.
For commissioned work I would share these test tiles with my client to make sure that the glazes match the
color palette.
Examples of test tiles for my flower panel project:
Red Flower before firing



After firing
Orange Flower before firing
After firing
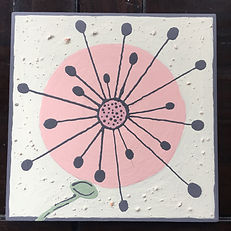
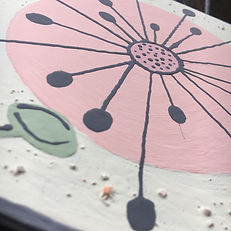
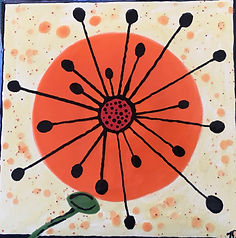
Once I'm happy with the colors and design, I start working on the original size panel.
I will order tiles in the requested size and quantity. I will carefully select the tiles by checking each and every
one for cracks or chips. Before transferring the design they have to be cleaned off of dust and dirt.
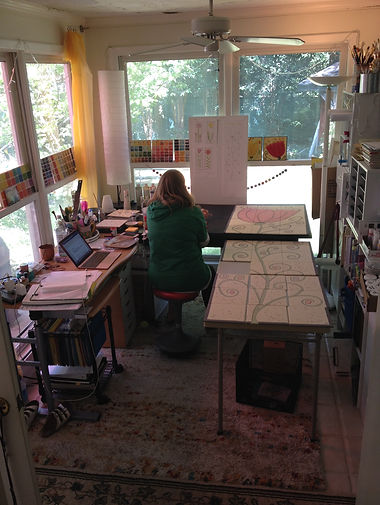
To transfer the design in original size onto the tiles I have to lay all the tiles out in my studio.
Two panels each in 24"x 80 and two each in 18" x 60".
That way I can make sure that the connections are correct and that the grout lines don't
run through details or thin lines.
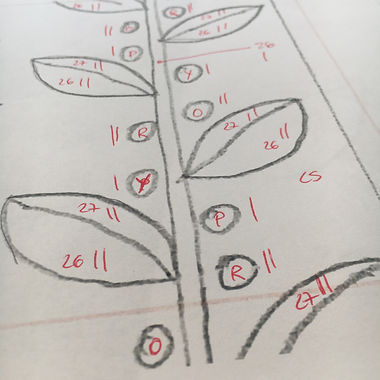
Then I can start the glazing process. Most of the time I have to apply at least 3 layers of
glaze with drying times in between.
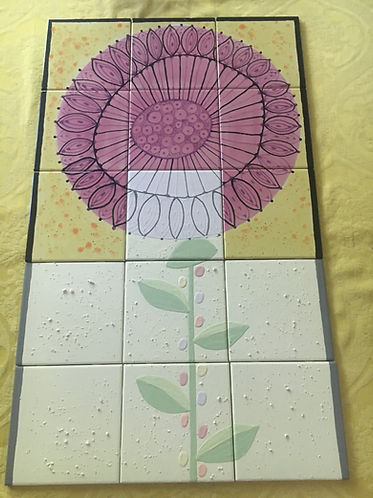
The right picture shows how I keep track of the number of glaze applications in the design.


Before firing I have to check all the connections of the tiles with the design to make sure that
the design connects smoothly from one tile to another. If necessary, I have to make adjustments.


I can fit about 7 tiles per firing into my kiln. One firing takes about 7.5 hours to get to temperature,
about 1800F or cone 05, and about 10 to 15 hours for the kiln to cool down to room temperature.
That makes about 4 to 5 firings per flower panel - patience is the word!

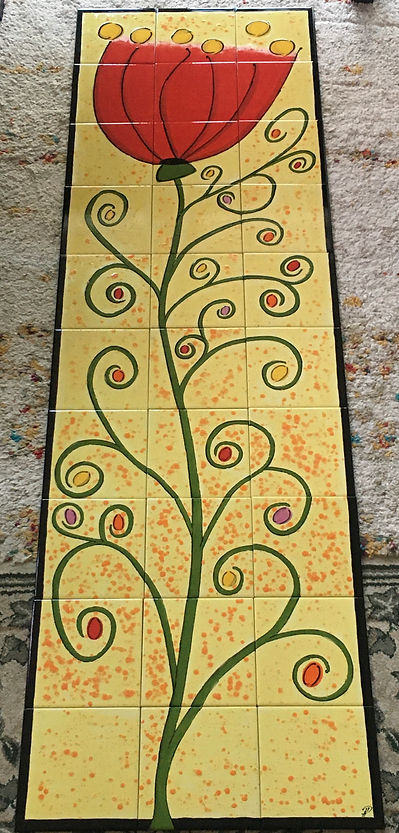
All tiles are fired! Yay, thanks to my grant I was able to fire the last two panels in my own kiln.
When I pull the tiles out of the kiln, I look at each and every tile, front and back, to check that all
went well in the firing, no cracks or glaze crazing.
Once again I lay all tiles out to make sure the connections and grout lines are all good.
I can see the entire design with the fired glazes and I can double check everything.



Next step is either adhering the tiles directly to the wall, that means they are permanently installed.
Or I can adhere them onto a substrate. That way it can be treated like artwork (picture or painting)
that can be moved anytime anywhere and is ready to be hung onto a wall.
For a substrate I use Schluter ®-KERDI board. It is a multi-functional tile substrate with a waterproofing membrane and a foam core, used in construction for the direct application of tiles.
The board is available in different sizes and thickness.
For the flower panels I decided to use the 2" thick board. It supports the number of tiles (30), the size and the weight of the artwork best. With the tiles adhered, it is still light enough for me to carry it by myself.
For a clean cut at a length of 80" I better ask the professional for help.
Thank you Adam Jochim, owner of Pitch and Burl for your help.
Please go check out his woodwork, his creations are stunning and one of a kind!


Back home I measured where the French cleat hanging system is supposed to go and drilled the holes.


Waterproofing the sides with a waterproofing band from Schluter ®.


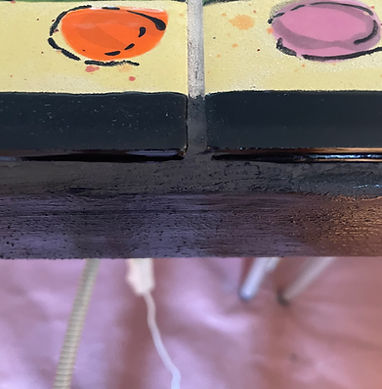
After the adhesive of the waterproofing band has dried, I can apply black exterior paint on the back and edges.
The exterior paint adds another layer of protection on the Kerdi board because the artwork will be
installed on the outside of my house. The black color on the edges makes it blend in with the edges
of the tiles, which are also glazed in black, to give it a frame-like appearance.


Before adhering the tiles I cover the holes of the tee nuts with a thin felt pad to avoid that
adhesive fills the holes. To make sure that everything is in the clear I test the French cleat
on the back side. When everything fits well I remove the French cleat so that the substrate
can lay flat when I attach the tiles.
Left picture: front side where the tiles will be adhered.
Right picture: back side of the artwork with French cleat attached


The tiles have to be laid out again, this time with the spacers in between. I double check the
edges all around so that the tiles are flush and that the grout lines are straight and even.
Now the adhering process can begin.
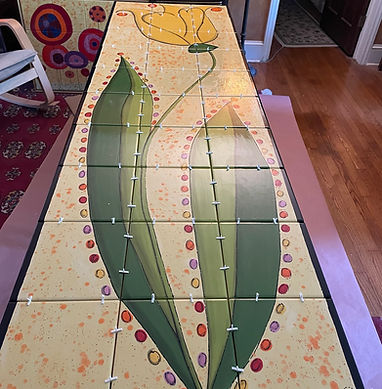
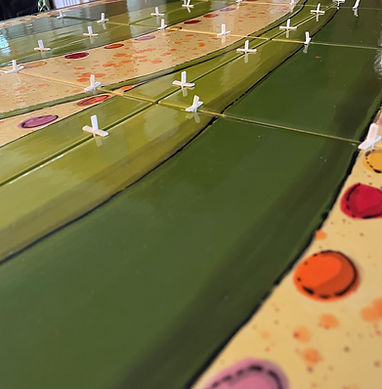


After 48 hours of drying time I start grouting. I use two colors of grout: a light one (linen) for the
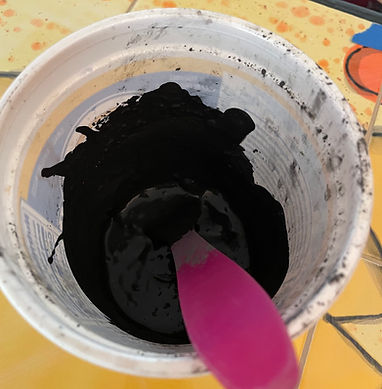
inside of the artwork and a dark one (charcoal) for the outside edge.
To make sure that the lighter grout does not fill the space around the outside, I cut cardboard into
small pieces to use as "place holders"


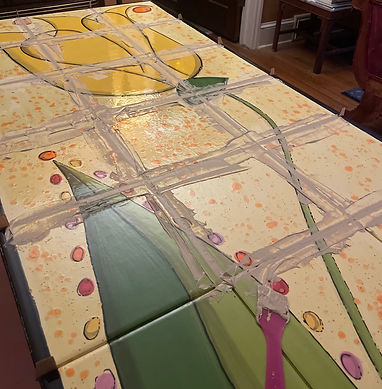
Another drying time of 24 to 48 hours and I can apply the dark grout.
To avoid bleeding into the lighter grout I cover it with painters tape.


Before applying grout and tile sealer, I have to make sure that the grout is fully cured and dried.
An extra day of drying time before applying the sealer is best. The sealer soaks in for a few minutes
and then I wipe it off.


After all is dry I have to flip the artwork to attach the French cleat.
At the bottom I will glue a 3/4"x 3/8" wooden back brace, painted in black to match the back color.
Once it is hung up, it will support the artwork at the bottom so it is the same distance from the wall
as the French cleat at the top.


Left shows the back of the panel with French cleat on top and brace support on the bottom.
Right is the opposite part of the French cleat, attached to the wall.


Final step: hanging the artwork and enjoying it.


